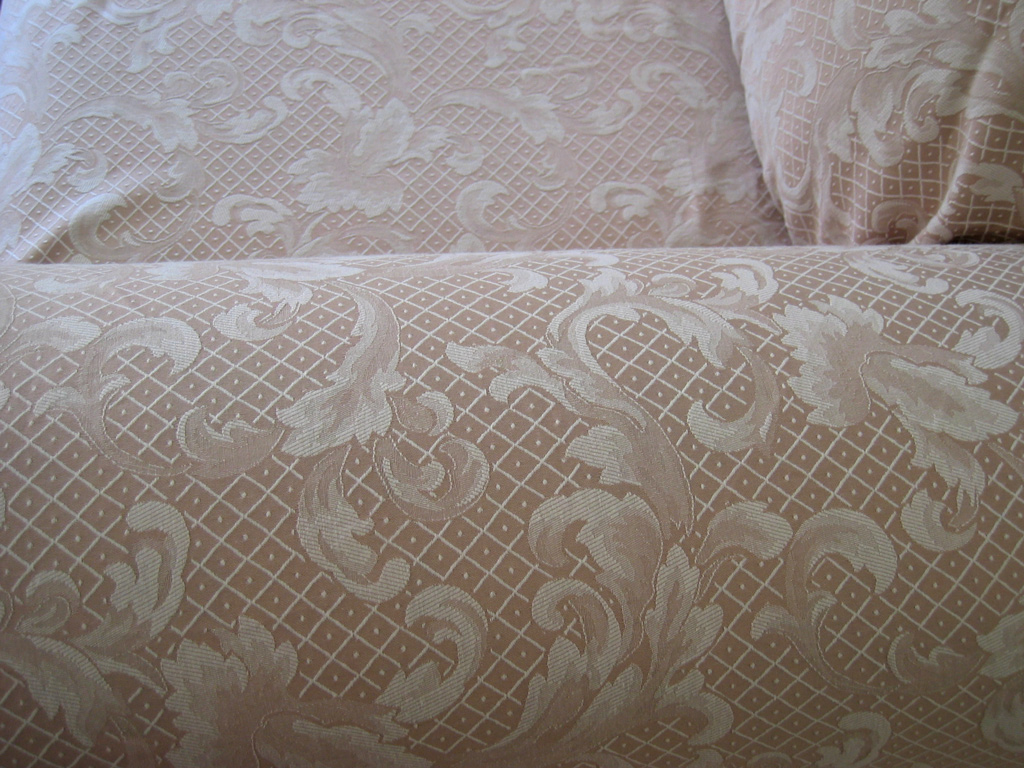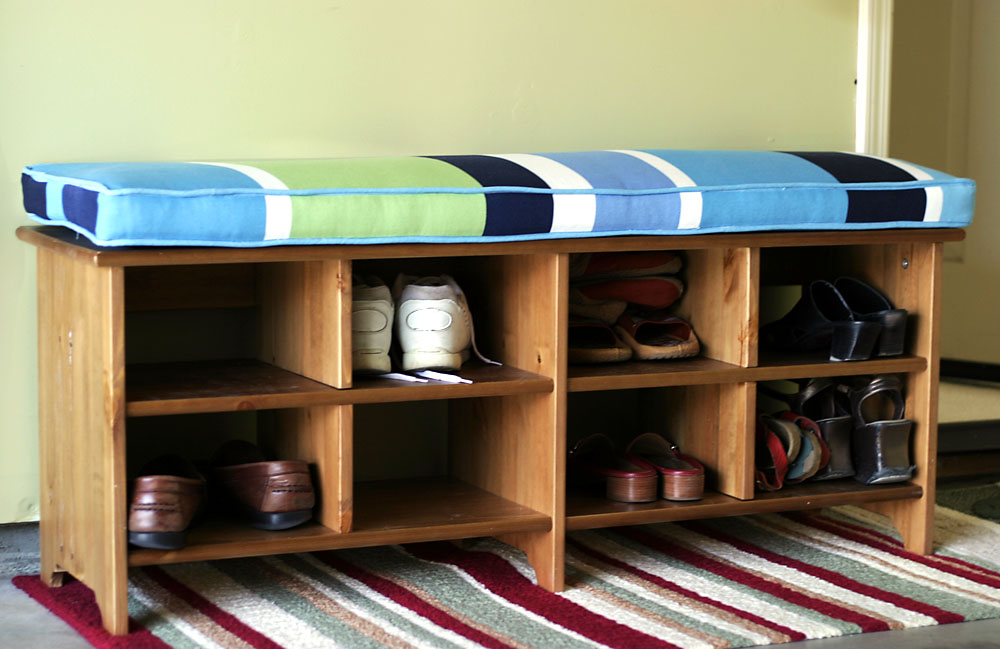
This time is about the cushion, not the bench.
Even though this cushion is far from perfect, you can't even take a closer look at it, I am still very proud of myself. This is my first sewing project, EVER! I made it!
I have no idea about sewing before, even though i have a sewing machine at home amd i watched my mom sewing from very young age. Sewing is always very intimdating to me for some reason, maybe it is the old sewing machine and I was always afraid that the needle was going to be broken.
Now I have a large piece of fabric at home, and i need to make some use of it. I though making a seat cushion should be really cool, considering i ready have a sewing machine, it is not much to be invested in the project. I got a few(about 10) sewing books from the library, picked a style i like followed the step-by-step instructions, finally i made it.
Well, it is not really that easy. First, i need to learn how to use the sewing machine. I have to say this sewing machine is definitely not dewing-dummy friendly. It took almost two hours to get everything in place and ready to sew. Of course, I have no idea what i am doing, all i have is the instrcution manual, which is for people know how to sew. I am so afraid that i am going to do something stupid to break the machine, smokes coming from the machine. Luckily this sewing machine is quite durable, it still functions quite well after my "abuse".
Secondly, you have let the sewing machine do the things you want. I will never imagine how hard it is to stitch a straight line. The speed of the machine seems out of control to me, it will go from 0 to 100 in one second, I just hope my car do not that my sewing machine. I know, i know, it takes time, patient and practices to get there, i just learned all the lessons the hard way.
Eventually I am happy about the result. The total cost of the cushion:
- foam: $4.00 x 3 - 40% = $7.20
- batting: $1.00
- zipper: $2.50
- cord for the piping: $4.00
- total: $14.70
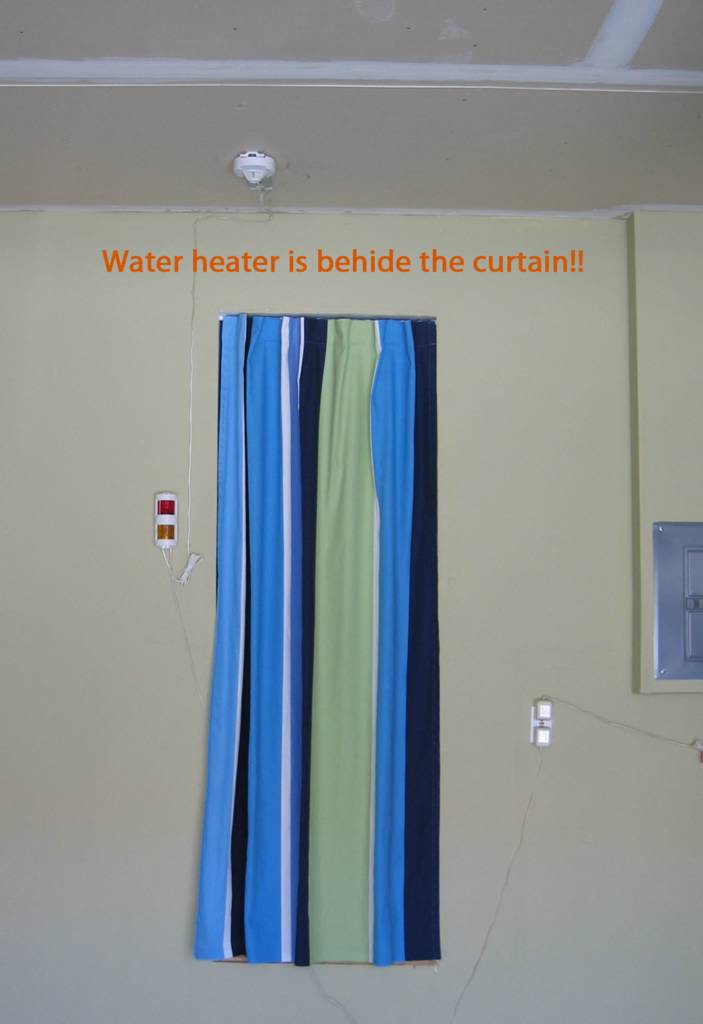
Now I used half of the curtain fabric. I am wonding what i am going to do with the remaining? I guess i am not going to use the sewing machine for a while.